How to do Long and Short Stitch - Hand Embroidery Tutorial For Beginners
- Sara | Pixels & Purls

- Oct 17, 2023
- 3 min read
I was scared of long and short stitch for the longest time - turns out I was just overthinking it (as usual)! Now I've got the hang of it, I love using it for colouring in areas of my embroidery designs - especially ones where the shape or size means satin stitch is tricky. I still love satin stitch, but I don't like using it on larger areas as if the stitches are too long they can start to sag or they snag easily, and sometimes a shape doesn't lend itself to satin stitch.
The trick with long and short stitch is to worry less about the "long and short" element after your first row, and just fill in the area in a blended way. It's actually quite forgiving if you're not using lots of colours to shade - let me talk you through it!
I've used some pretty odd colours in the tutorial below to differentiate between the rows. I'd actually do this leaf all in one colour like the example on the left. I've also used two strands of thread but I think this looks much smoother and neater with one strand if you have the patience! See the sun below for an example, I filled the face with long and short stitch using just one strand.

Ok let's go!
First of all, if I'm working on a pointed shape like a leaf, I find it easiest to work from the bottom to the tip. Remember, don't overthink it!


Start by creating a row of long and short stitches. The size of the longest stitch depends on the area you're filling, but for reference, this leaf is approximately 3 cm long and my long stitches on this first row are approximately 1cm long. The shorter stitches are about half of that. If you're filling something different, you might need to experiment but try to avoid making your stitches too long. Remember thread is easy to snip off, so experiment and if after a few rows you don't like it, just get rid of it!
Don't get too caught up in being precise about the size of your stitches, you actually want them to be varied. Prioritise keeping them straight/going in the right direction and sitting close together with no gaps but without overlapping or squishing their neighbours.
It's hard to see from the photos, so I have added an illustrated photo at the end of the gallery above to demonstrate what I mean when I say "a row of long and short stitches".


Once you've laid down your initial row, you can forget "long and short" and work with stitches that are all similar in length to your "long" stitches. The short stitches in the first row are just to introduce the staggered effect. Again, don't overthink it - you don't want them to be exactly the same length. Slightly varying the length will help with the blending.
This next row is going to work in between each of your initial long stitches.
Come up in between two of your long stitches and above it (by about half the length of one of your long stitches), then go back down into the short stitch below. You don't want to just meet it - you want to overlap it slightly and stitch into it. This helps with blending.


Continue in this fashion until your shape is filled. So, start each row by coming up above and between two of your long stitches from the row before, going back down into the stitch below. I find it easiest to start with the middle stitch of the row as it helps me keep everything straight but work however you find most natural.
Some of your rows will naturally need fewer stitches depending on the shape.
And that's it! After your first row which creates the pattern to follow, it is much more about just filling in the area with stitches that are staggered and vertically overlap each other slightly.
Experiment, practice and don't overthink it and I promise you'll get it!
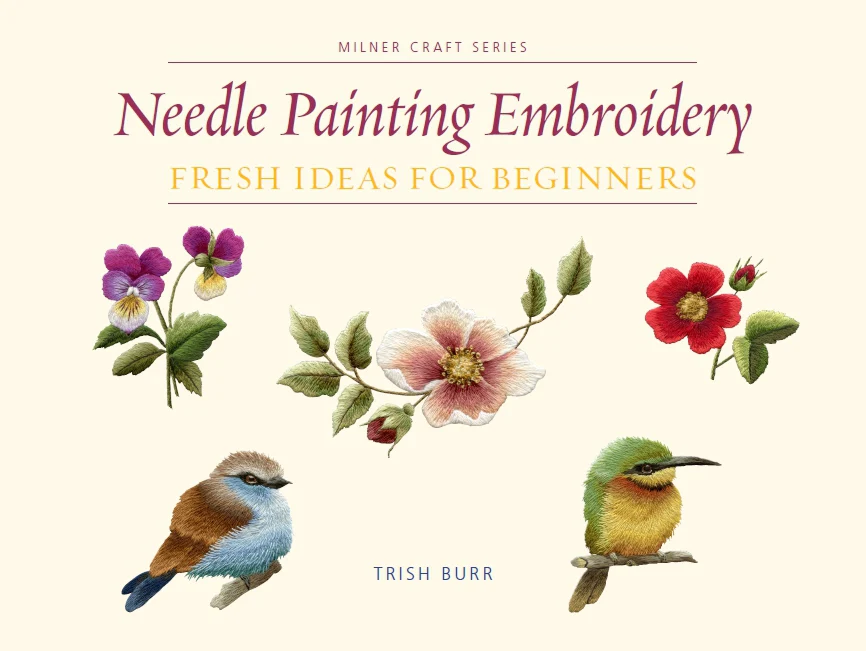
If you're looking for some experts on using long and short stitch or thread painting, I'm not your gal- it isn't something I've really used in my designs but I highly recommend both Trisha Burr and Emillie Ferris if you're looking for resources or books to help you with shading and realistic embroidering!


Comments